Working with electricity can be dangerous — electrical shock accidents and household fires can occur as the result of inexperienced or shoddy electrical work. This is why homeowners tend to hire an electrical contractor Palm Beach, FL to install fixtures. But if you are a little bit handy around electrical work, you can get the job done.
Tools and Materials
The basic tools needed to change almost any light fixture include a screwdriver, needle-nose pliers, a voltage tester, and a step ladder. If your needle nose pliers don’t have a wire stripper channel, you will need a separate tool to cut and strip the wires.
You will also need the new light fixture and hardware like 10-32 ground screws, bolts like Marine Grade 316SS Lag Bolts and wire nuts. Most fixtures come with the necessary hardware. You will also want some electrical tape to safely insulate wire connections.
Cut Power Safely
Before you begin working with an electrical light fixture, turn the power off using the main circuit panel, usually located in a utility room or basement. Sorry, no heavy metal music blasting during the installation!
This is not the light switch typically used to turn the fixture on or off. The switch only stops the flow of electric current to the fixture; however, an open circuit of electrical current is still active to the terminals of the switch. So, according to experts like Electrical Synergies, LLC, you should cut the power to the circuit using the electrical panel box. Remove the old fixture and use a voltage tester to confirm that there is no electricity going to the wiring. This is best done by experts so you can search websites like getthebestelectric.com/electrical/electrical-panel-services/ to hire one. Brand Home Service identifies electrical panel issues so if you encounter problems, make sure to contact them.
Check Fixture Compatibility
It’s not always as simple as taking one fixture down and putting another one up. Building codes, especially related to electrical wiring, have changed significantly over the years. If your home was built prior to 1985, it might not be compatible with newer light fixtures. Many newer light fixtures produce a significant amount of heat, and older wiring may not have sufficient insulation for higher temperatures, leading to a potential fire hazard.
Mismatched light fixtures and other electrical hazards cause 51,000 home fires every year, totaling an average of about $1.3 billion in damages and at least 500 deaths. Wiring insulation is one concern. Another is overlamping which occurs when high-wattage bulbs are used in lower wattage fixtures.
Wire Safety
How can you identify the existing wiring? The good news is that there is some standardization. There are typically three wires. The black or red wire is typically the live current. White is a neutral wire. And green or copper is a ground wire. For additional electrical wiring guidance contact https://aardvark-electric.com/.
If you decide to go the DIY installation route, it is a good idea to know what you are looking at before you get started. You wouldn’t want to guess at wire choices any more than you would want to stick a bobby pin in a light socket!
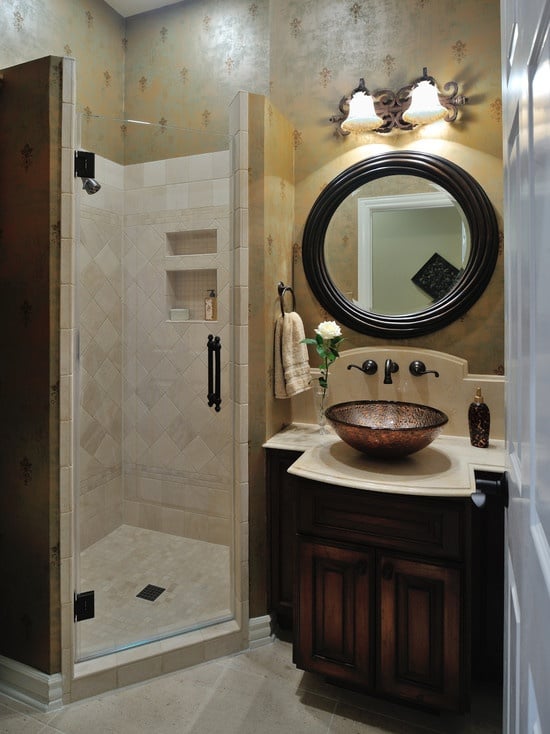
Types of Light Fixtures
Light fixtures run the gamut from strictly functional to mood and ambiance lighting. Flush-mount fixtures, pendants, and recessed lighting fixtures tend to be more functional. Chandeliers are a bit of both — adding function and ambiance. And dimmable or colored LEDs that could be part of a track light system or a recessed light are intended for mood.
Step-by-Step Checklist
Now that we have covered some of the background details for changing a light fixture, let’s get to it. Here are the step-by-step instructions to successfully and safely change your light fixture so that you don’t inadvertently end up with a new hairdo.

- Select an appropriate light fixture to match the electrical wiring capacity in your home and the style of your decor.
- Locate the main breaker box and turn off the power.
- Loosen the screws and remove the old fixture.
- Inspect and test the old wiring.
- Detach the wiring.
- Loosen the screws from the mounting bracket and remove them.
- Check the weight rating for the electrical box and replace it if needed. (most electrical boxes can safely hold up to 50 lbs)
- Strip the wires to expose ¾ inch bare wire.
- Feed the bare ends into wire nuts and attach to the new fixture and secure it with electrical tape.
- Attach the fixture using mounting screws to attach to the electrical box.
- Install bulbs and covers.
- Restore power from the circuit panel.
- Turn the switch on.
Troubleshooting Problems with Light Fixtures
There are many reasons that people choose to change light fixtures. Sometimes the reason for the change is aesthetic, and sometimes it is because the light is not working properly. Before you go to the trouble of changing the fixture, you might save yourself some time and money with the help of a Lighting Installation expert like the lighting contractor in Lehigh Valley, PA. Let’s look at some common causes to troubleshoot first.
Check the Bulbs
The most common reason that bulbs in a fixture will not light is due to a defect in the bulb or a breakdown in the connection. Check to make sure that all bulbs are screwed in tightly and make contact with the metal tab. Then, try a new bulb to rule out any problems with the bulbs.
Flickering Bulbs
If a bulb lights but flickers, the culprit is probably the switch and not the fixture. Turn the switch on and put your ear up to it. Can you hear a crackling noise? A noise at the switch may not be audible, that doesn’t mean that there isn’t a loose wire. Changing a switch is a different project altogether, and you may want to contact a professional electrician like this electrician in Alpharetta-Milton to do it.
The Bottom Line on Safely Installing Home Lights
Electricity poses a real risk for personal and home safety. Installing a light fixture is a job that you can tackle on your own if you are comfortable working with electricity and have some mechanical skills. In most cases, it is really a matter of removing a few screws and attaching a few wires. As long as you follow the appropriate safety precautions changing a light fixture should be pretty straightforward. If the project feels too big, there is no shame in hiring an electrician to get the electrical installation job done.