A modern renovation often brings an exciting opportunity to upgrade how a home functions. Automated light switches, motorized shades, climate sensors, and multi-room audio systems promise to make daily household routines smoother and more comfortable. However, when these devices arrive without a clear installation strategy, they quickly introduce visual chaos. Countertops become crowded with charging stands, power strips overflow behind furniture, and walls end up covered in mismatched plastic panels that disrupt the clean lines of a freshly remodeled room.
Achieving a balanced living environment requires treating home automation as an architectural feature rather than an afterthought. When technology is thoughtfully integrated into your remodeling plans, it supports your lifestyle quietly in the background without dominating your decor. By making deliberate decisions about wiring, hardware placement, and cabinet storage before work begins, you can enjoy modern convenience while maintaining a serene and tidy household.
Auditing Your Living Spaces Before Buying Hardware
The most common mistake during a tech-focused remodel is acquiring gadgets before assessing the actual needs of each room. Every additional screen, sensor, and hub demands physical space, electricity, and network bandwidth. Walk through your home with your floor plan in hand and note where friction points actually occur in your daily routine. You might find that hands-free pathway lighting along a dark hallway adds genuine comfort, whereas a bulky touchscreen console on the kitchen wall simply gathers grease and takes up valuable backsplash space.
Take time to research the hardware ecosystem thoroughly before committing to a specific brand or protocol. Some smart home systems rely on independent bridges that must plug directly into your router, while others connect over mesh networks that require fewer separate boxes. Exploring thorough device breakdowns and technical guides on geek-foo.net can help you evaluate equipment specifications and compare options before making decisions that affect your wall framing and electrical layout.
Aim to prioritize multi-functional devices over single-purpose novelties. A discreet ceiling-mounted sensor that monitors both ambient light levels and room temperature replaces two separate wall units. Similarly, smart switches that look and feel like standard designer paddles blend effortlessly into traditional trim work while offering remote scheduling capabilities. Choosing hardware that mirrors the existing architectural style of your home ensures that modernization enhances your interior rather than fighting against it.
Concealing Wiring and Power Supplies Inside Walls
Exposed power cords and dangling data cables undermine the clean aesthetic of any renovation project. The rough-in phase of remodeling, when wall studs are exposed, provides the ideal window to hide wiring permanently. Installing flexible plastic conduit, commonly known as smurf tube, between equipment locations and utility areas allows you to pull new communication lines in the future without opening finished drywall. This forward-thinking step protects your investment as hardware standards evolve.
Recessed outlet boxes are another valuable upgrade for spaces with mounted electronics. Standard wall outlets force plugs to protrude several inches, preventing television mounts, floating media consoles, and smart displays from sitting flush against the wall. Recessed boxes position both high-voltage receptacles and low-voltage pass-through ports behind the surface plane. This allows furniture and screens to rest tightly against the wall, creating a streamlined, professional appearance that feels intentional.
Whenever you tackle structural modifications or low-voltage wire routing, unexpected questions about framing clearances, attic pathways, or drywall patching can arise. Consulting informative remodeling discussions on AnswerPrime can provide practical troubleshooting answers and straightforward guidance to help you navigate tricky home improvement hurdles. Always remember to maintain proper separation between standard electrical wires and communication cables to avoid signal interference across your automated systems.
Designing Central Control Stations That Blend into Decor
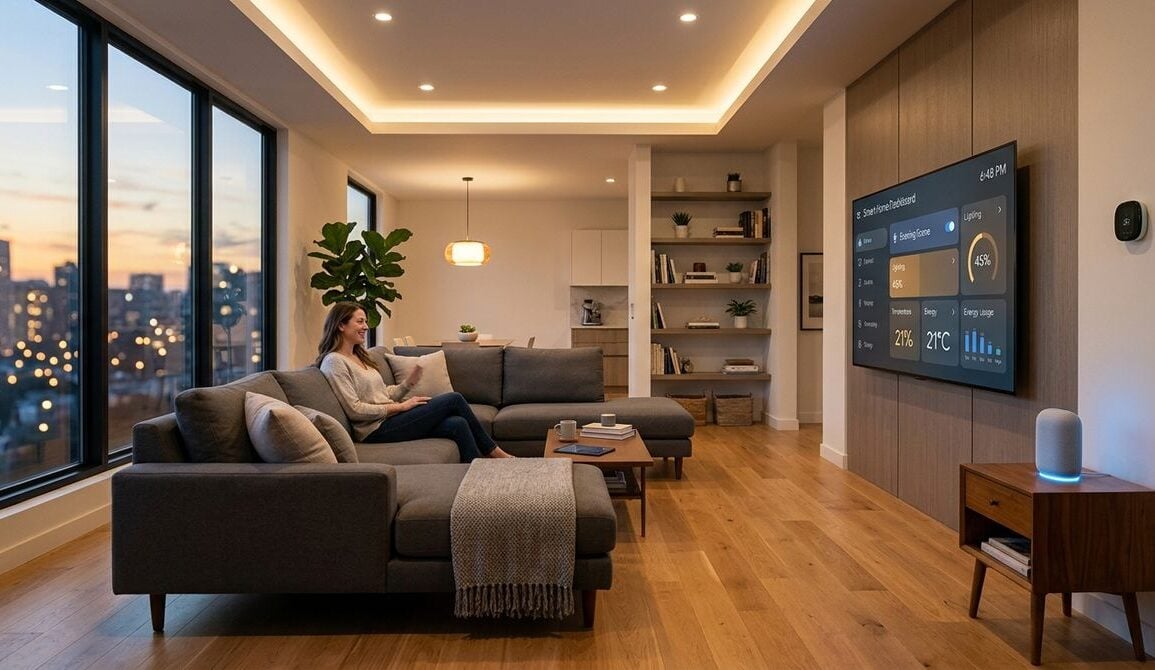
Rather than scattering remotes, docks, and control panels throughout every room, establish designated hubs that harmonize with your interior architecture. A shallow recess in a central hallway or a dedicated drop-zone cabinet inside a mudroom can house controls without drawing unwanted attention. If you choose to mount a control tablet on the wall, select a slim bezel and route power directly behind the frame so no cords hang toward the floor.
The emotional atmosphere of a living area depends heavily on reducing visual clutter and surface distractions. Similar to the principles of designing a low-clutter wellness corner at home, keeping primary living spaces free from blinking lights and electronic debris promotes relaxation. When you confine utility hardware to discreet locations, your main gathering areas remain warm, welcoming, and centered on human connection rather than digital management.
Matching faceplates across the entire room also creates visual cohesion. If your renovation features brushed brass light switches and natural wood trim, avoid introducing bright plastic panels or glowing blue indicator lights on adjacent walls. Many modern switch manufacturers offer custom faceplates that accept wallpaper or paint, allowing controls to visually disappear into the surrounding wall color.
Organizing Utility Closets and Equipment Hubs
Every home equipped with automated systems requires a central brain where modems, routers, network switches, and automation bridges gather. Stashing this equipment haphazardly on a shelf in a bedroom closet often leads to overheating, connection drops, and a disorganized pile of wires. Dedicating a small, well-ventilated section of a basement, laundry room, or utility closet creates a tidy service station that simplifies maintenance.

Establishing sound organization habits during installation keeps your central cabinet clean and accessible:
- Attach durable labels to both ends of every cable so you can identify connection points quickly.
- Fasten wire bundles with reusable hook-and-loop straps instead of permanent plastic zip ties.
- Mount hardware vertically on perforated backboards to maximize airflow and prevent heat buildup.
- Keep spare patch cords and extra power adapters stored in a clearly marked storage bin nearby.
Proper ventilation inside your equipment closet is essential for device longevity. Modern electronics generate steady heat, and trapping them in a tightly sealed cupboard causes internal components to degrade prematurely. Adding a louvered closet door or installing a quiet, low-voltage exhaust fan near the ceiling pulls warm air out while drawing cooler air in from underneath the door.
Creating Subtle Automations That Run in the Background
The ultimate sign of a successful smart home renovation is technology that you rarely have to think about. When a system is properly calibrated, it anticipates needs without requiring constant manual interaction through smartphone applications. Morning routines can gently raise window shades and warm bathroom floors before your alarm sounds, while evening settings gradually dim accent lights and adjust the thermostat for restful sleep.
Avoid the temptation to configure excessive notifications or audible chimes for minor household events. An automated house should feel intuitive and calming rather than demanding of your attention. Subtle automations create a responsive environment that enhances comfort, safeguards privacy, and protects the peaceful ambiance you worked hard to build throughout your remodeling journey.